

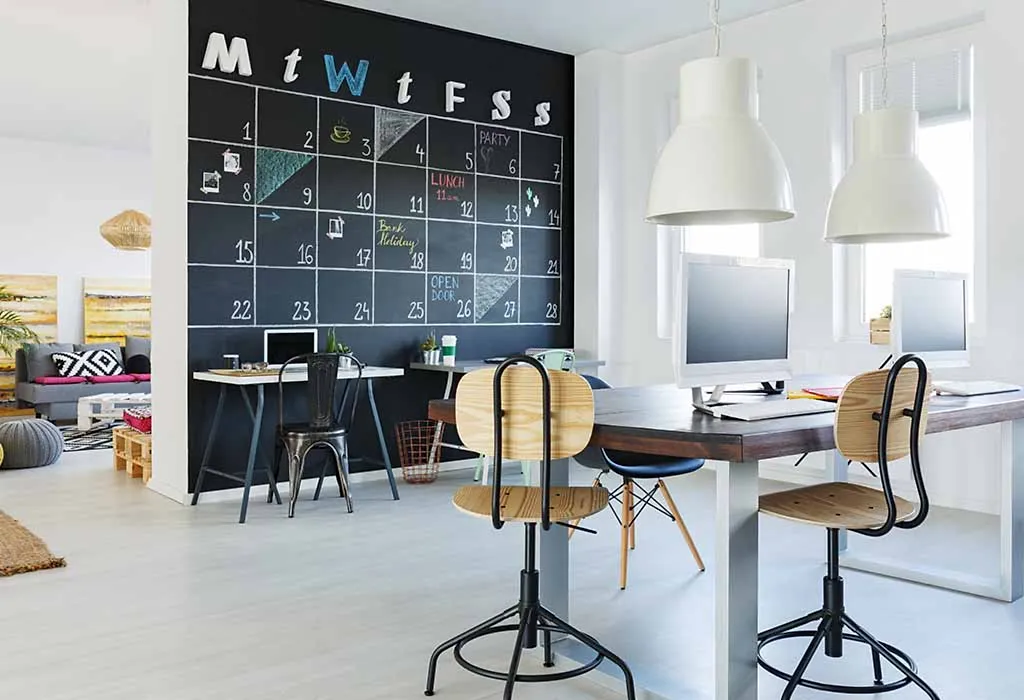
As we transition to adulthood we are burdened by myriad responsibilities. We’ve got events, parties, and work-related commitments amongst others. Calendars and alarm clocks become our best friends. In such a day and age we need to mark everything down to the point lest we forget them and bear witness to the horrendous repercussions. Chalkboard wall calendars are the perfect way to remember your commitments, because they are right in front of you (quite literally), reminding you of your obligations. And if you have toddlers, a chalkboard wall serves a dual purpose. Gone are the days when you had to sit and laboriously clean away the crayons off of the wall. All you need is a duster and voila, the stains are gone.

How to Make a Chalkboard Wall Calendar
There are several chalkboard calendar ideas which make for a fun DIY project. You may choose to transform the entire wall into a calendar, but we recommend centring the calendar, leaving room for your kids (to be honest you must also partake) to explore their artistic sides.
What Do You Need To Make A Chalkboard Calendar
Chalkboard calendars are EXTREMELY easy to make (we cannot emphasize EASY enough). However, you must be patient as the drying time is quite long. To make your chalkboard wall calendar, you will need the following items.
- Spackling Paste
- Chalkboard Paint
- Paint Tray
- Paint Brush/ Rollers
- Sandpaper
- Painters’ Tape and Masking Sheets
- Chalks (multicolored)
- Primer
Steps to Make an Exquisite Chalkboard Wall Calendar
If you follow the given steps, we assure you that your magnificent chalkboard wall will be ready to use in no time.
STEP 1: Prepare your Wall
Before you begin, you must select the wall which you wish to remodel into a calendar. We advise you to opt for a wall in the living room, for you will notice it the most. Grab the sandpaper and sand the existing paint off of it. Ever heard of a bumpy chalkboard? Using a paint scraper remove the texture off of the wall. If the wall has a popcorn texture, you will find it harder to remove as they are quite sturdy. Make sure to guard your floors of any droppings. Tape the masking sheets to the floor with the painters’ tape before you begin the process of making your chalkboard calendar.
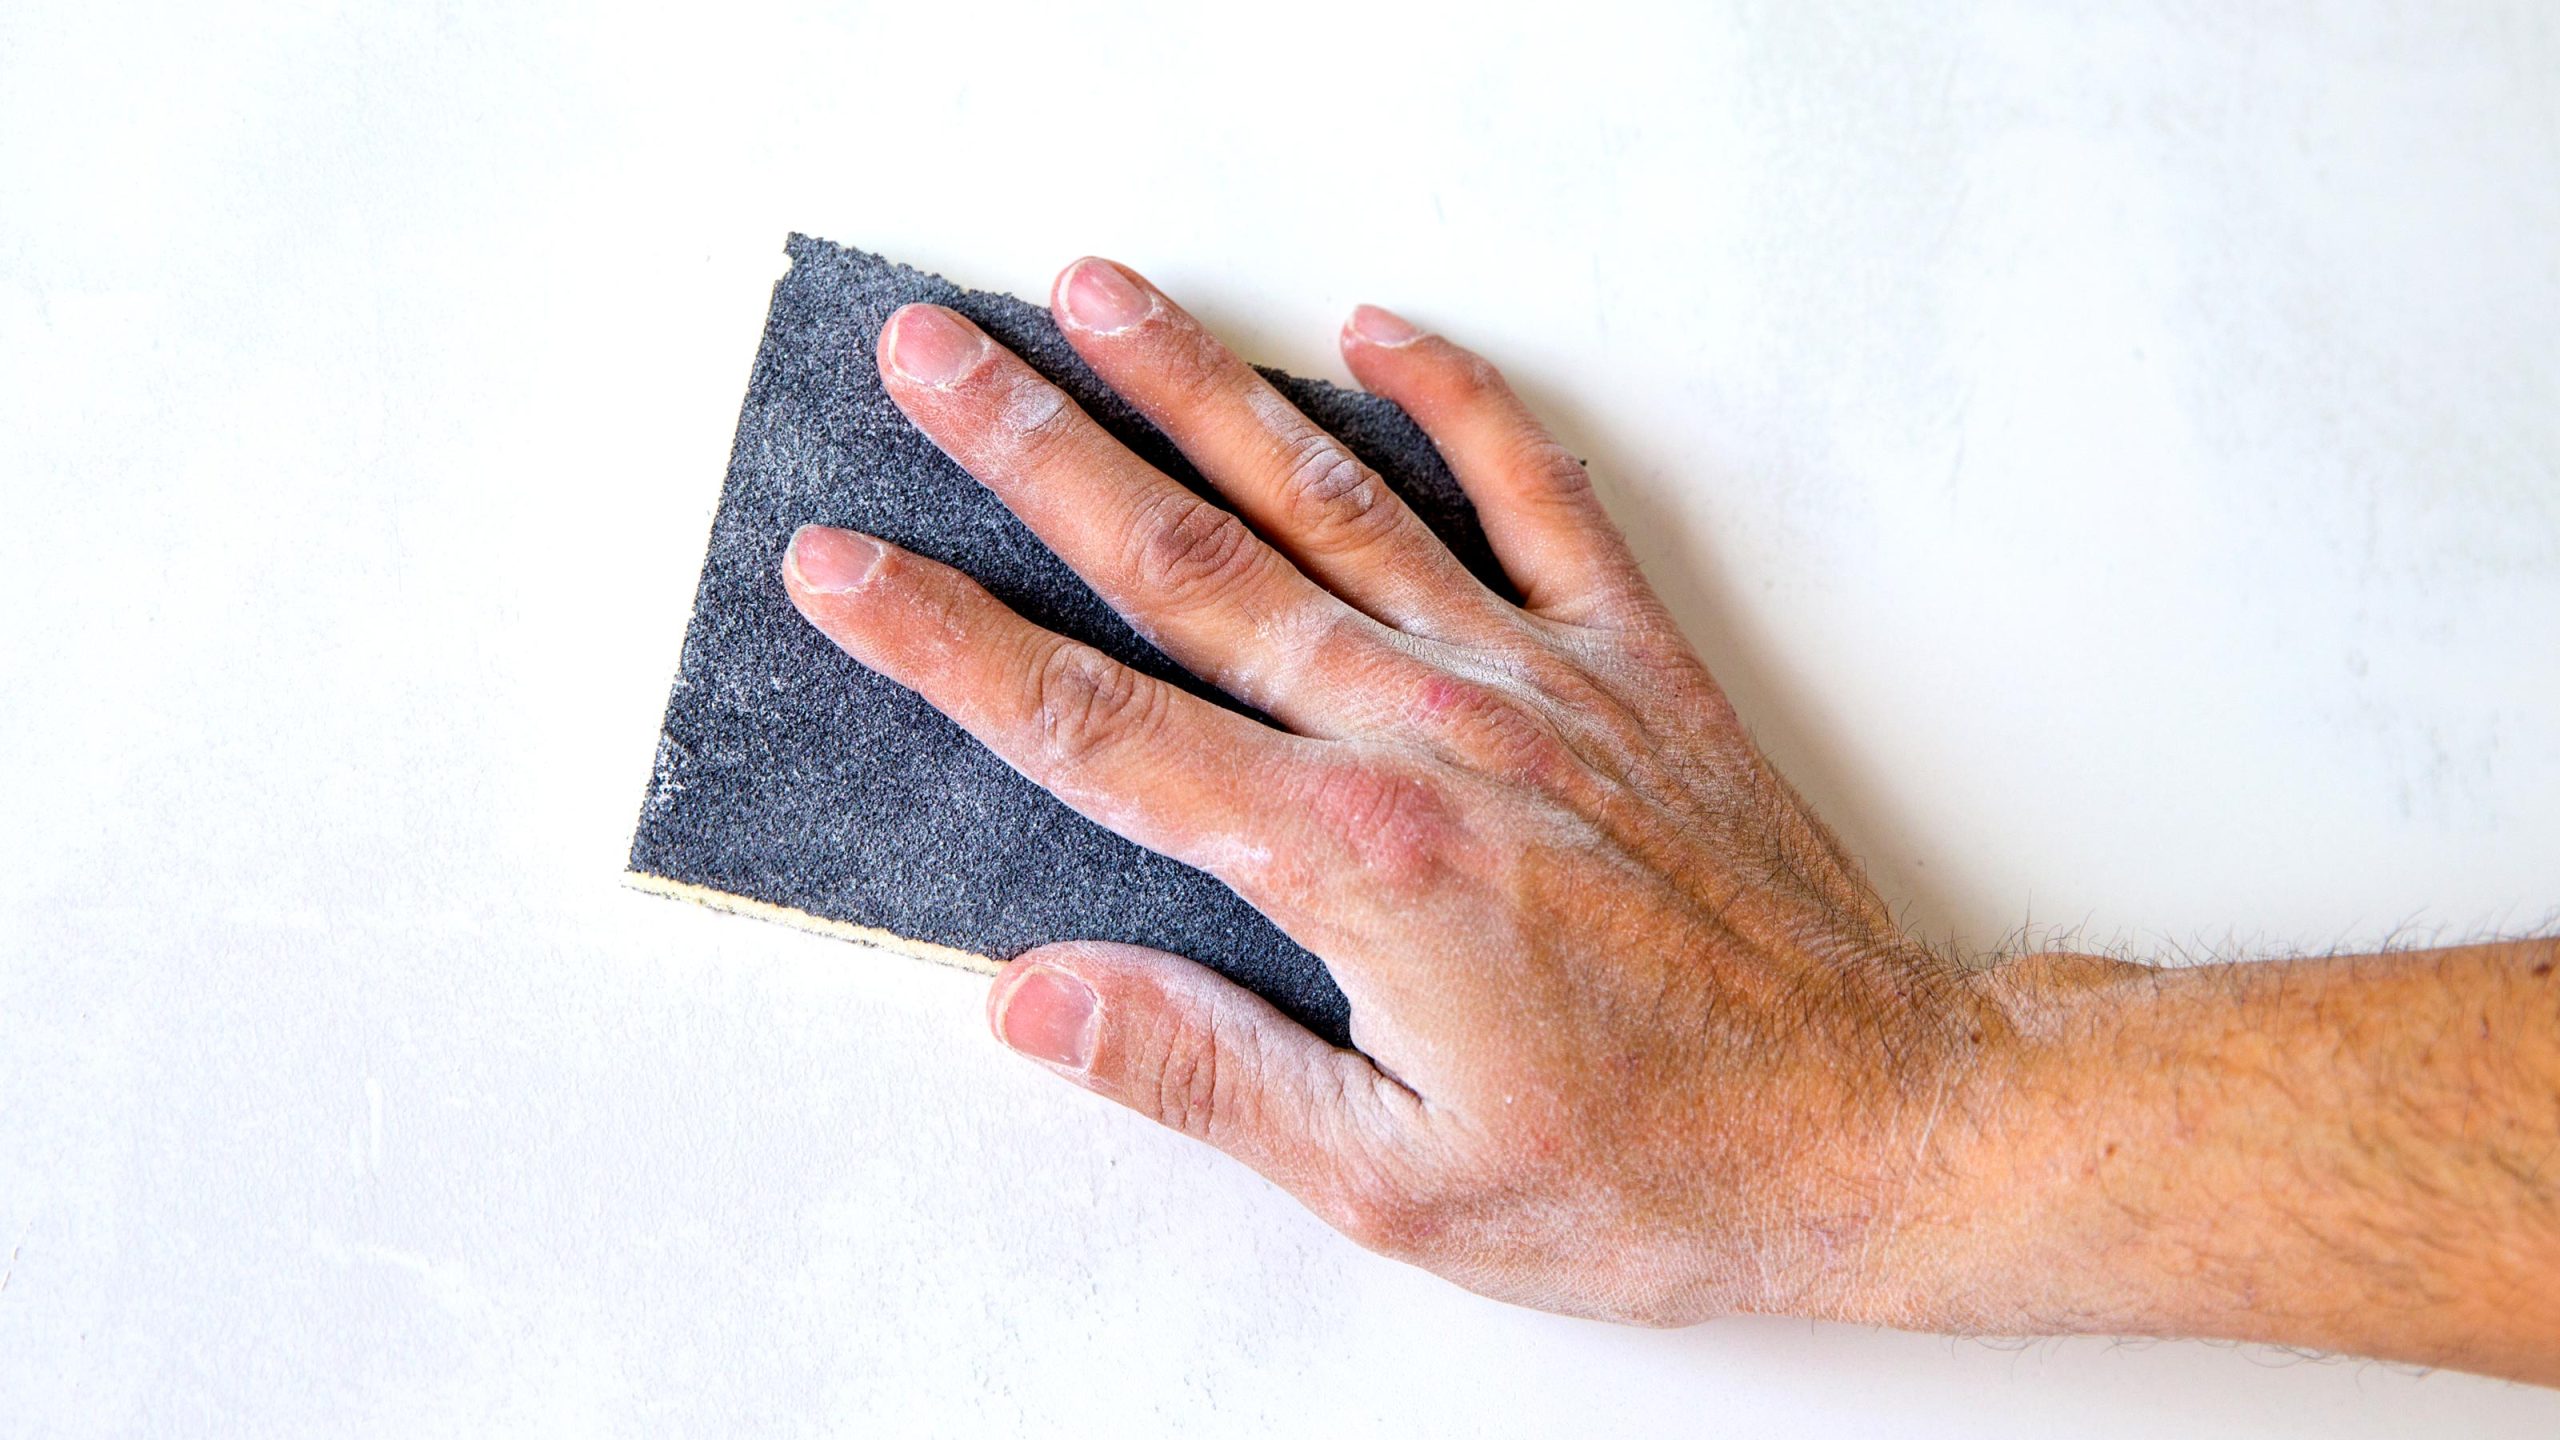
Once the wall is quite smooth, use the spackling paste to cover any cracks or holes. Once they dry, even it out again with the sandpaper. Using a sponge and warm soapy water, remove any dust or grime that is still latched onto the wall. Use the primer on your wall. The primer acts as an adhesive ensuring the chalkboard paint sticks nicely to it. This is the way you will get a long-lasting chalkboard wall calendar. Even though it may take the primer anywhere between 30 minutes to 3 hours to dry, we advise you to let it rest for about 24 hours.
STEP 2: Paint it Black or Red or Any Color You Wish!
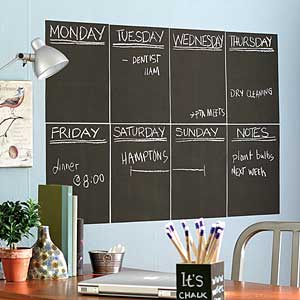
If you do not understand the appeal of black walls, here’s good news for you. You can absolutely buy chalkboard paint in any colour. Another great chalkboard calendar idea – separate your days (if you are making a chalkboard weekly calendar) or your months (for an annual calendar) using different colored chalkboard paint. If you wish to go ahead with this idea, section your wall with painter’s tape otherwise the colours will overlap reducing the aesthetic appeal. You can even get magnetic chalkboard paint. This will allow you to easily stick your child’s drawing, grocery lists, or other important things on the wall itself (although you will need fridge magnets to do so).
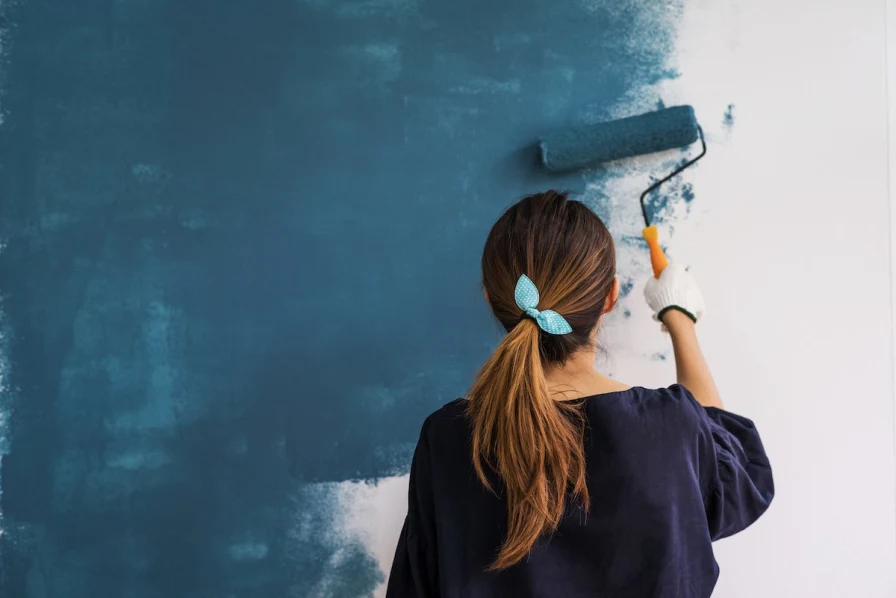
Mix the paint thoroughly to achieve a smooth consistency. Spill it onto the paint tray. Use a paintbrush or roller to paint. One coat of chalkboard paint will do nothing for your chalkboard calendar, but two will. However, three is the most commonly advised number. Give each coat of paint at least 24 hours to dry. Thus, you must wait at least 3 days for your chalkboard wall to attain perfection.
STEP 3: Cure is better than prevention
Once all three coats of chalkboard paint have been applied and dried, you will need to prime it. But not the primer; for this priming process you will need chalk. Using the length of the chalk, rub it all over the wall (or where the paint is). Take a dry towel and erase all the chalk scribbling. This step ensures that any lingering pores are closed, leaving the chalkboard wall calendar surface smooth.
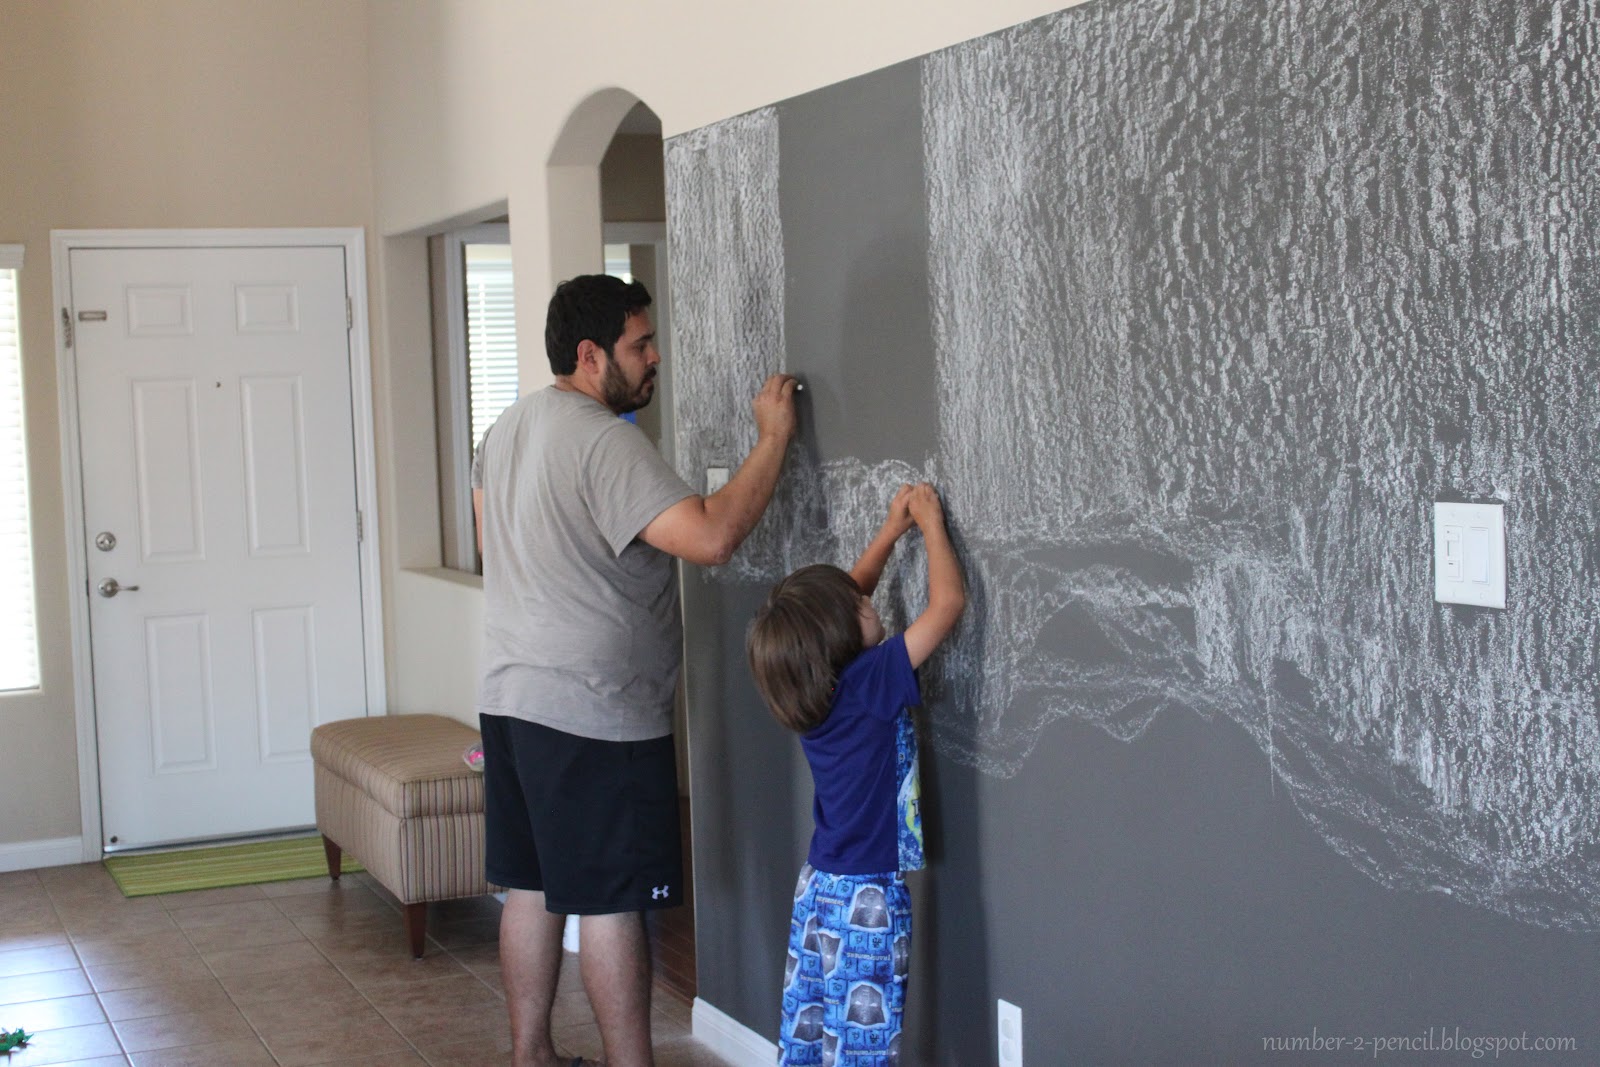
Now that you have made your chalkboard wall, you may divide it into weeks or months. Hand out some of the chalks to your toddlers, so they may scribble away. Write down all the upcoming appointments. Stick lists (grocery lists/ packing lists) onto the days so that you will never miss a thing. Even though it is ginormous, a chalkboard wall calendar is handy.
Image Courtesy – C.R.A.F.T.


