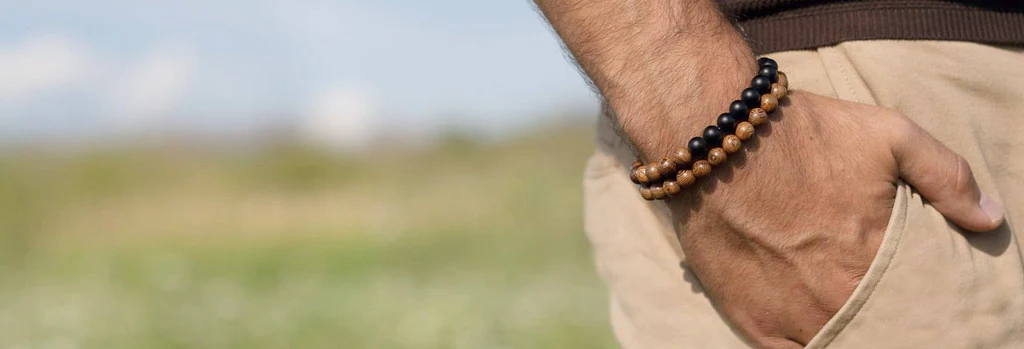
Bracelets and necklaces are not just accessories; they are expressions of personal style, creativity, and often, cherished memories. These handcrafted adornments assist you in unleashing your imagination, allowing you to weave personal stories and journeys around your wrist or neckline. The best quality about DIY bracelets is that you can always customize them according to the occasion. So, it is your time to switch up your fashion game with beads, pearls, or anything sparkly. We bring to you a comprehensive and truth be told, the easiest guide on how to make bracelets at home.

The Wristory of Bracelets
Human beings have made and worn bracelets since time immemorial. Whether they are made of silver, gold, pearl, or even leaves or paper, these decorative items are cultural symbols, status indicators, and seldom protective talismans. The oldest known bracelet traces its history to the Denisovan (an older species of the modern human species). The stone bracelet is said to be 65,000 – 70,000 years old.

While bracelets connoted wealth in ancient Mesopotamia, they were potent charms of protection and power to the Egyptians, reserved for the pharaohs. They adorned themselves with intricately crafted pieces believed to ward off evil spirits. Since the bracelets were mostly made of gold and myriad gemstones, pharaohs were often buried with them, to ease their passage through the twelve gates of the Duat. Meanwhile, in ancient Rome, jewellery became an essential part of fashion, with both men and women flaunting bracelets crafted from gold, pearls, and precious gemstones. For men, these bracelets were often worn by warriors around the arm and called ‘Bracels’.
Fast forward to the Renaissance, and jewellery became more ornate and intricate, often depicting religious motifs and intricate patterns. They were now made with silk and ribbons. The Victorian era saw the rise of sentimental jewellery, with lockets and charm bracelets becoming popular to hold precious keepsakes (a lock of hair) and miniature portraits. Bracelets also began to be worn as a pair. In the 20th century, bracelets evolved alongside fashion trends, which continued till the 21st century. Today, the diversity in materials, styles, and techniques reflects a rich tapestry of cultures and influences from across the globe.
Items You Need
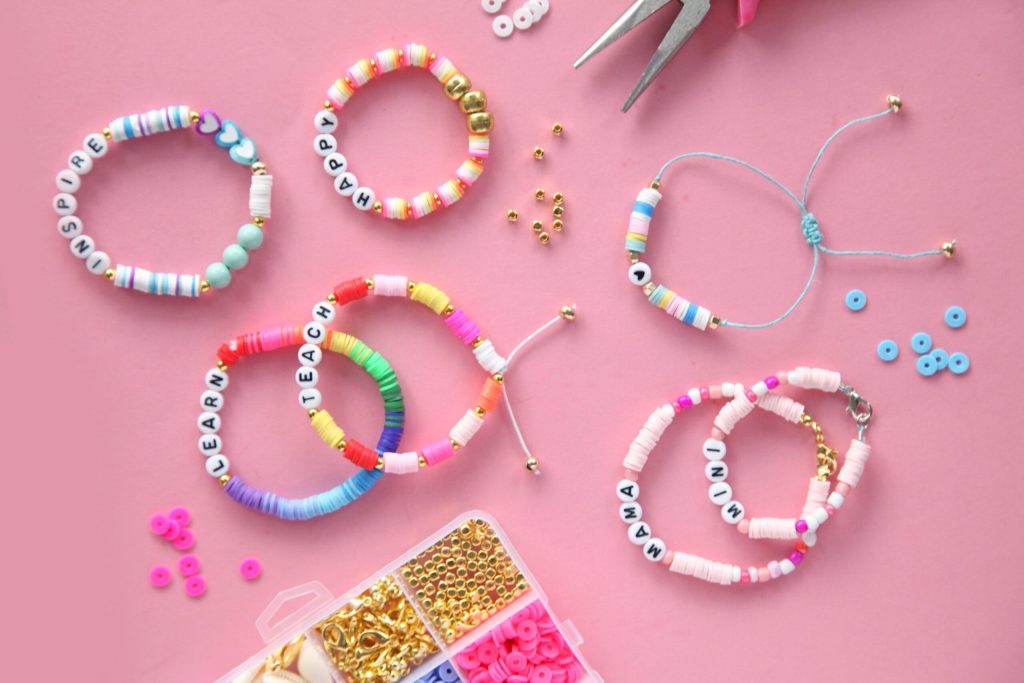
Time for the most important question – ‘How to Make Bracelets At Home’. Fear not, for you can find most of the items around your house. We will also advise you to visit your nearest craft store for decorative emblems and charms. For this easy DIY project, you will need:
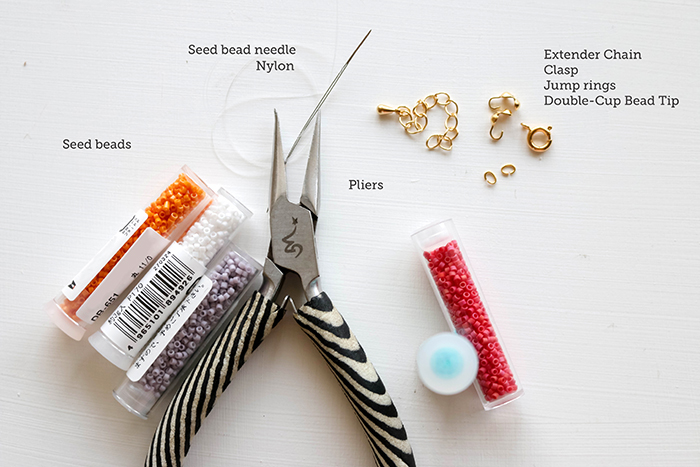
- Beads
- String, Wire, or Thread
- Clasps (lobster clasps, toggle clasps, or magnetic clasps)
- Jump Rings
- Pliers
- A Pair of Scissors
How To Make A Beaded Bracelet
Making bracelets at home is quite easy and doesn’t require much effort, but you must ideate heavily. To make an exquisite bracelet, follow this step-by-step guide on how to make bracelets at home with thread.
STEP 1: Think of a Design
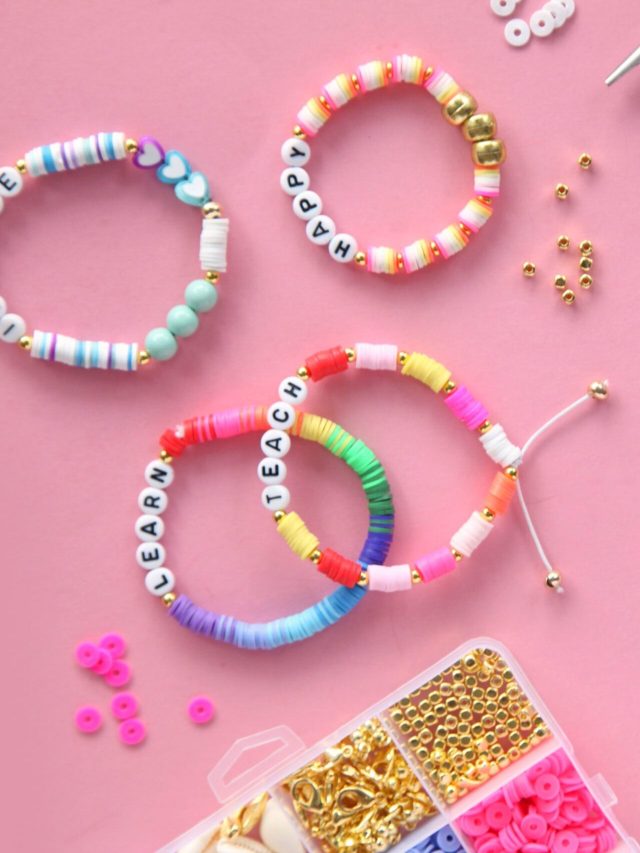
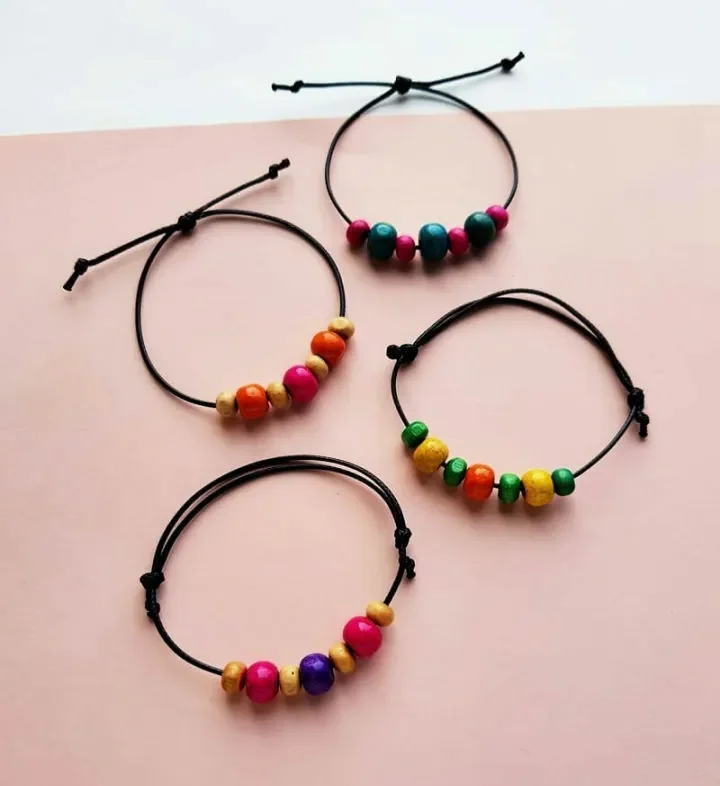
Lay out all of your beads and charms on the table. Visualize what bracelet you wish to make. This is your time to experiment with patterns and colours. Do you want it for an everyday casual look? Do you wish to give it to a friend on Friendship Day? Do you want to make it intricate to go with an upcoming wedding? Whatever the case might be, you will undoubtedly find the perfect style and arrangement.
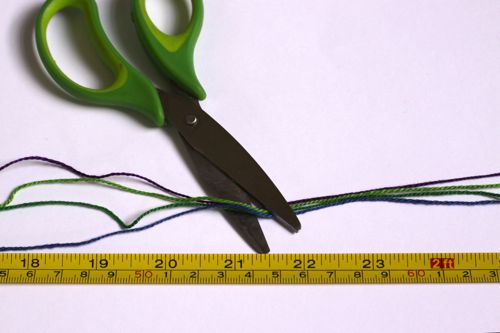
STEP 2: Measure and Cut
Once you have decided on the pattern, measure the thread. We advise you to use a stretchy elastic thread, but it can be made out of any yarn. Wrap the thread around your hand to determine the length. Now cut the thread/wire accordingly. You may want to keep a few inches here and there to ensure that the bracelet is tight enough and doesn’t slip out of your hands.
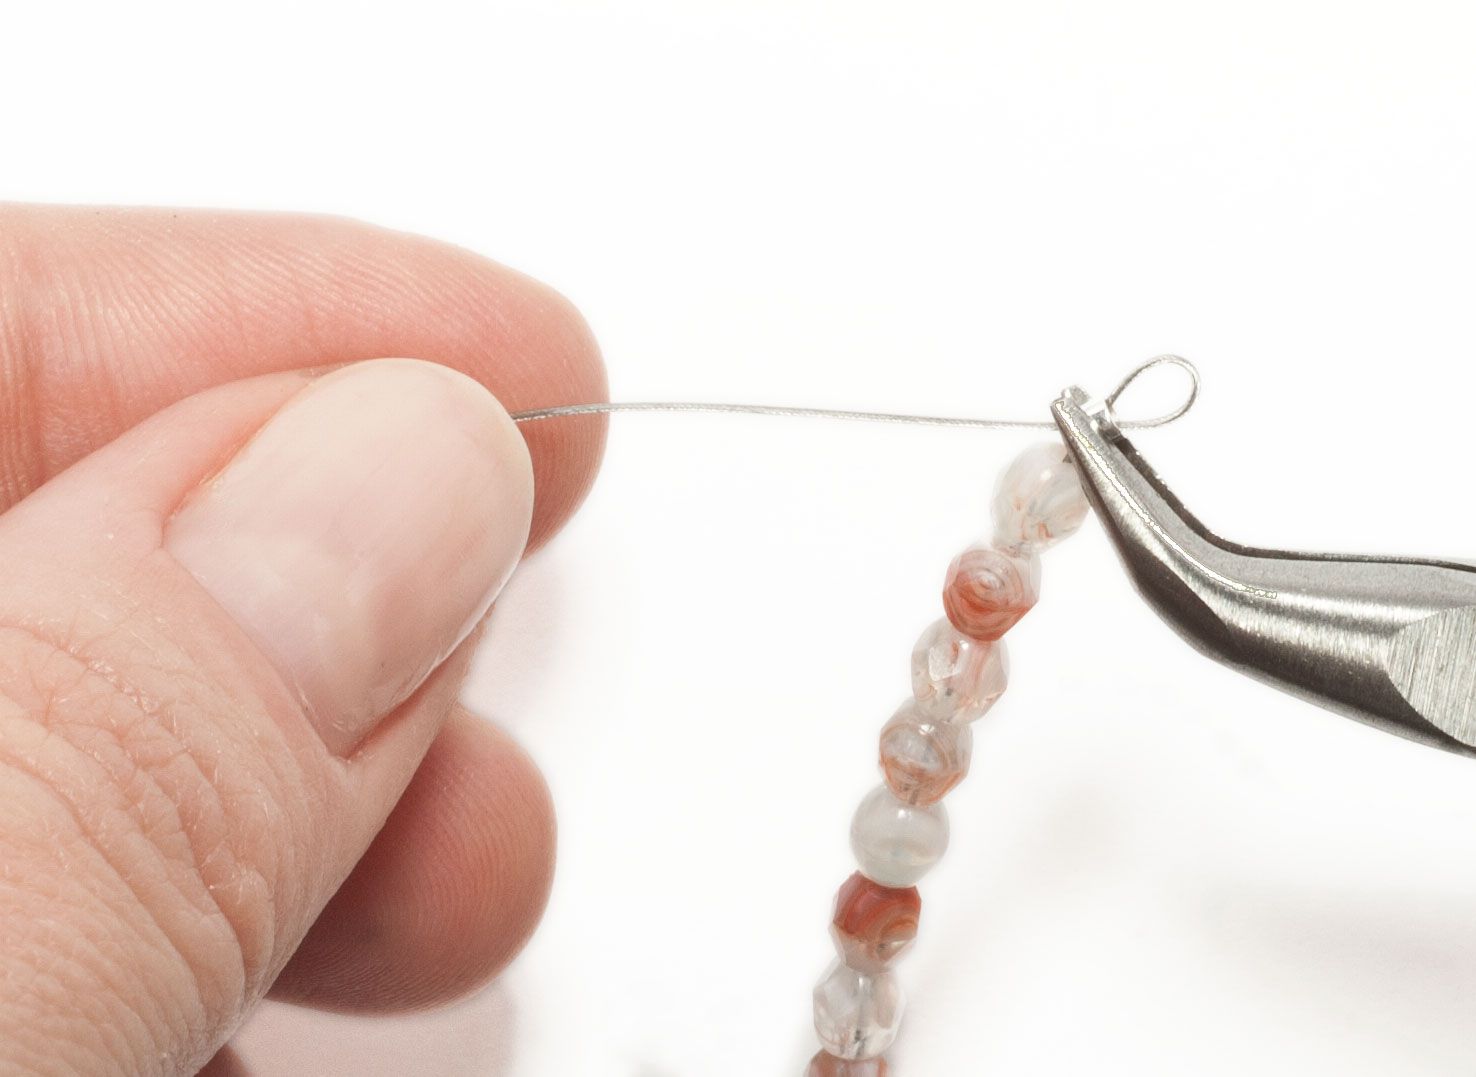
Step 3: Bead It Gurl
Loop and tie up one end of the string. Now begin threading your beads into the string/wire based on the pattern you have decided. If you are using a fish wire, you will find it easier to tie knots to segregate the beads or charms. It will also ensure that they don’t slip away. Use pliers to secure the ends or tie knots to prevent beads from slipping.
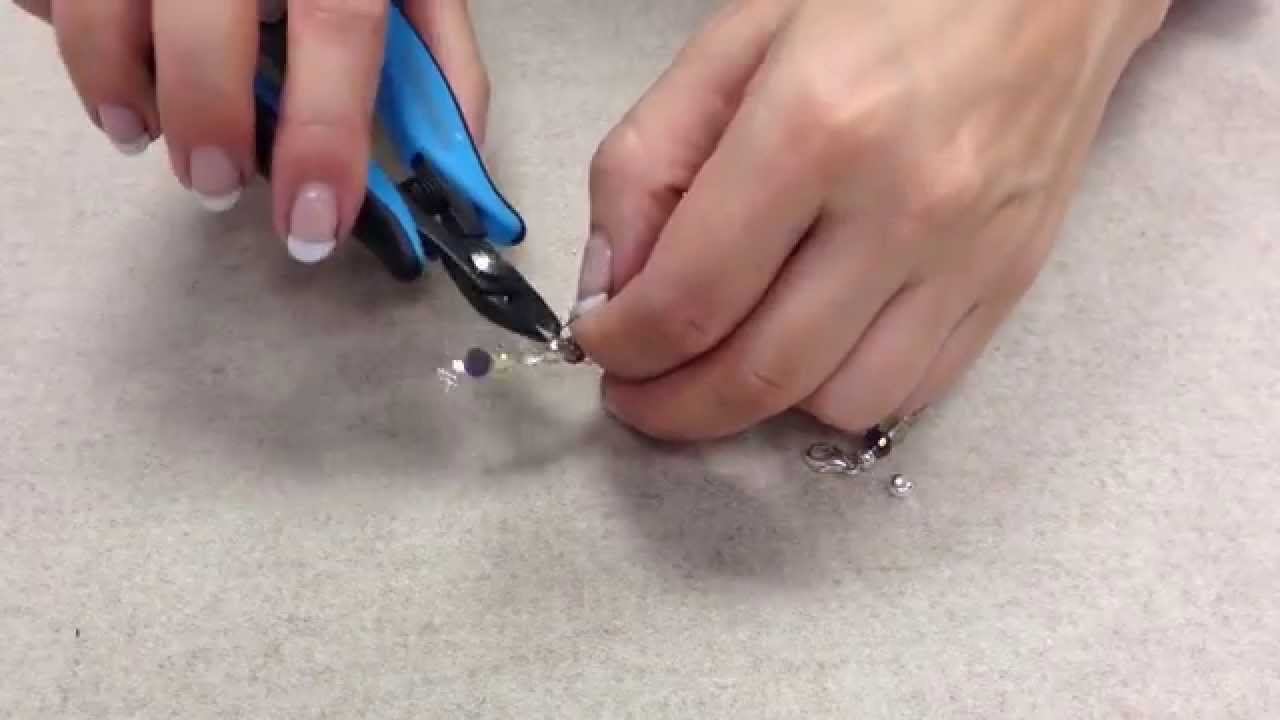
STEP 4: Bombastic Clasp!
Once you have made the bracelet, you can now attach the clasp. If you have used the stretchy string you may just want to tie the knot. However, if you are using a regular yarn or wire, attach a few jump rings at both ends. Attach the clasp to each end of the bracelet.
And now, you have a beautiful, gorgeous, never-seen-before piece of jewellery which will only add to your outfit.
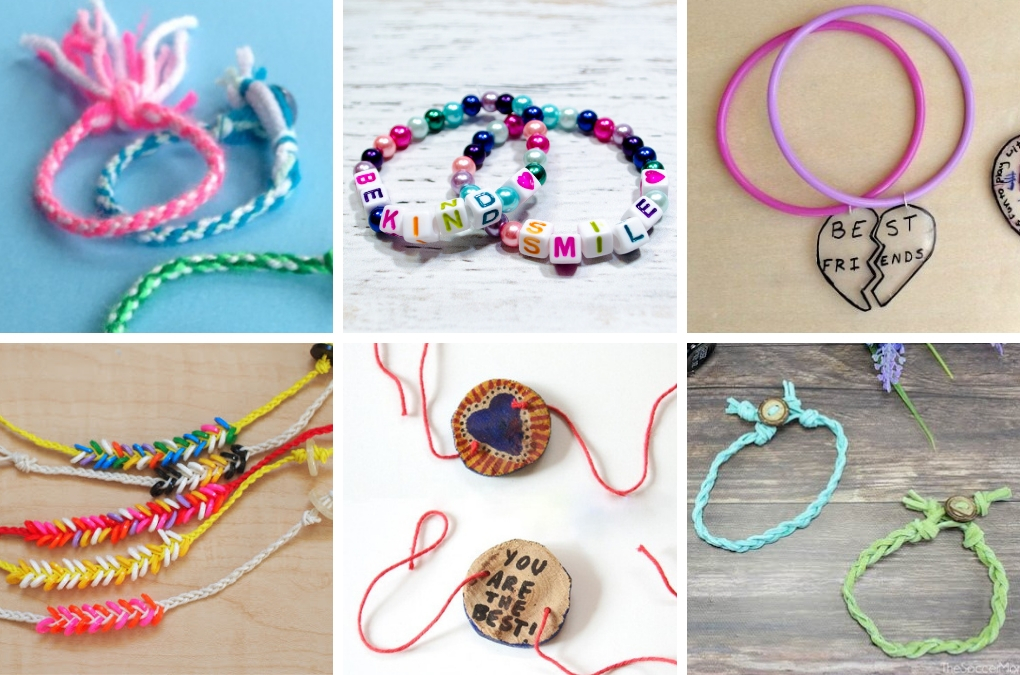
Alternative Designs
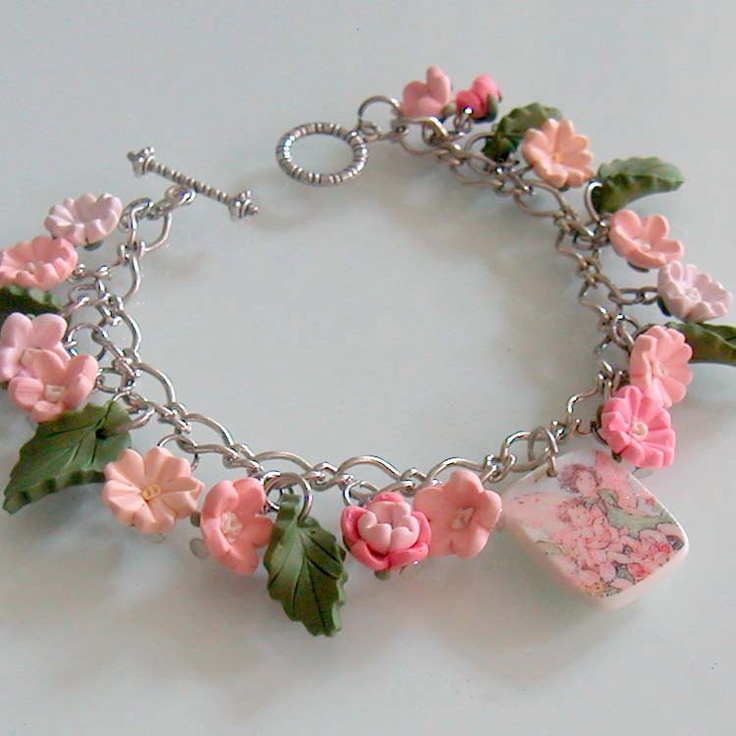
- Cottagecore: Instead of using beads, use charms in the shape of leaves, flowers, or natural stones to evoke the cottagecore aesthetic.
- Boho-Chic: Mix and match vibrant colours and textures. Tie it all in with a chunky charm or a jade stone.
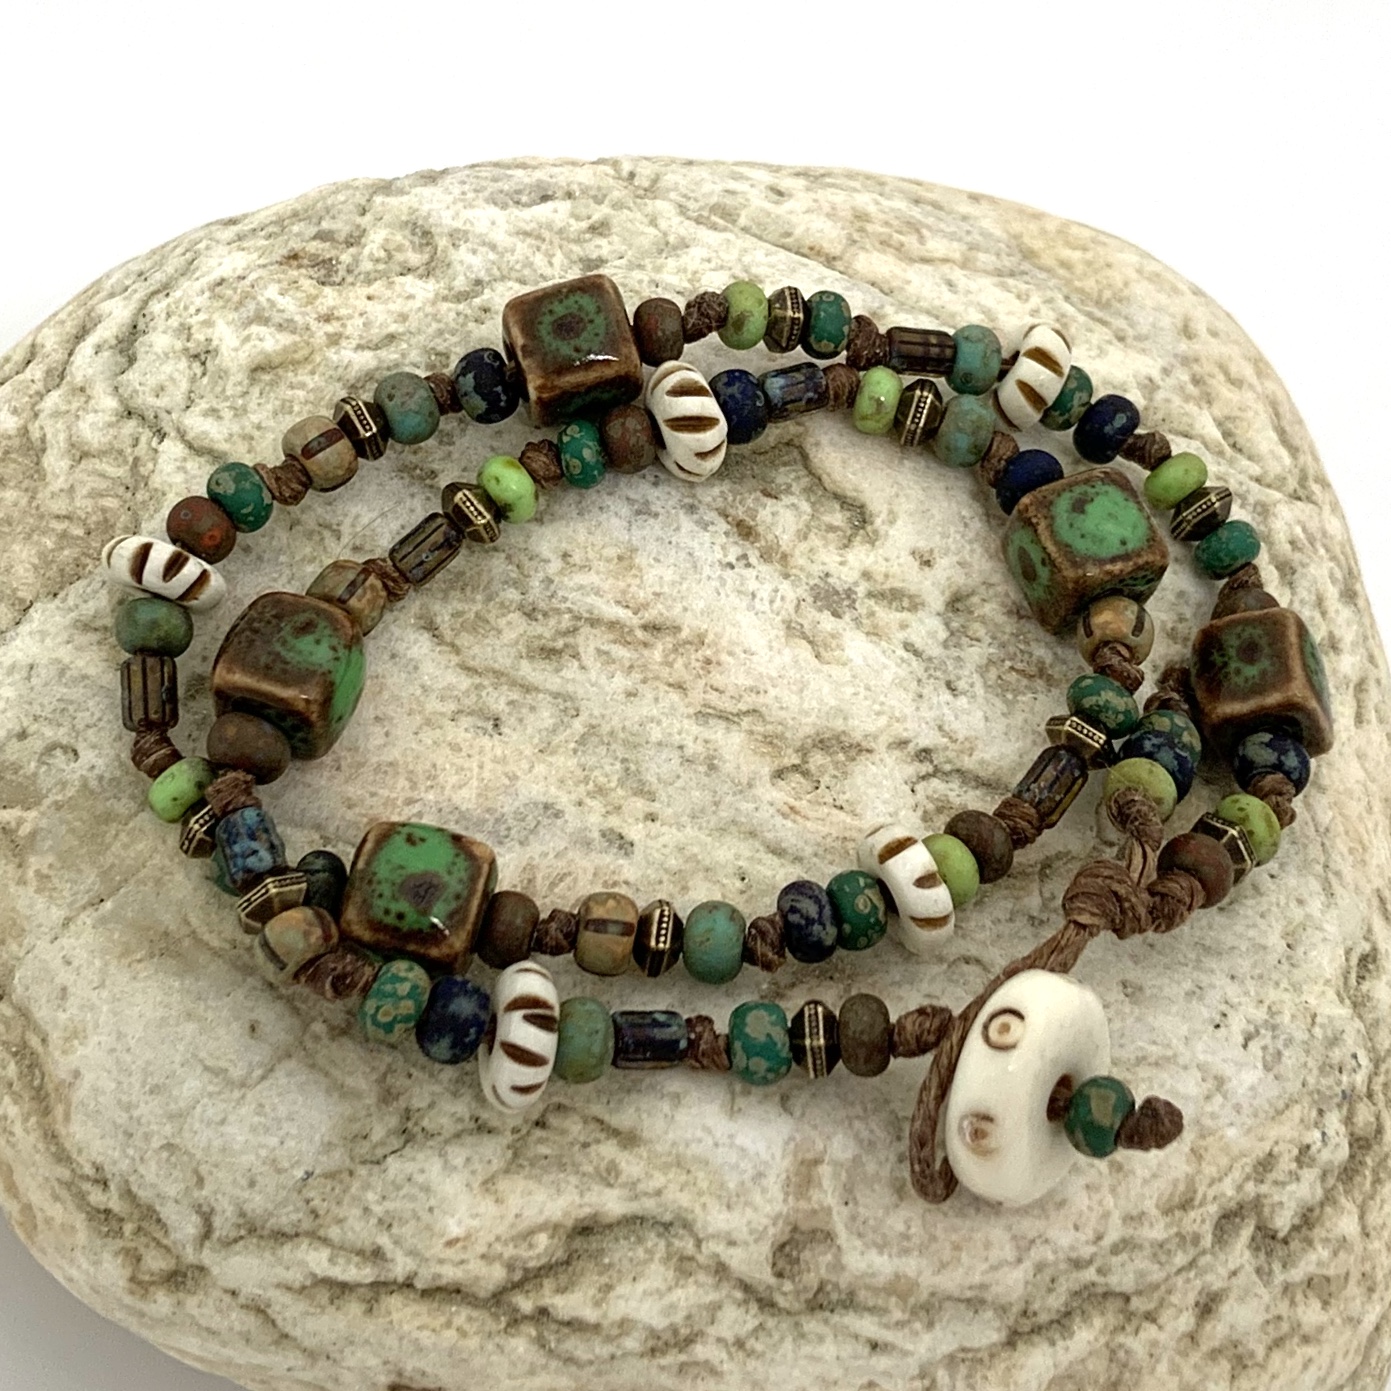
- Minimalism: Embrace the simplicity of jewellery. Use only a single bead (make sure it’s big) or encase it in a macrame knot. The natural beauty of the bracelet will shine through.
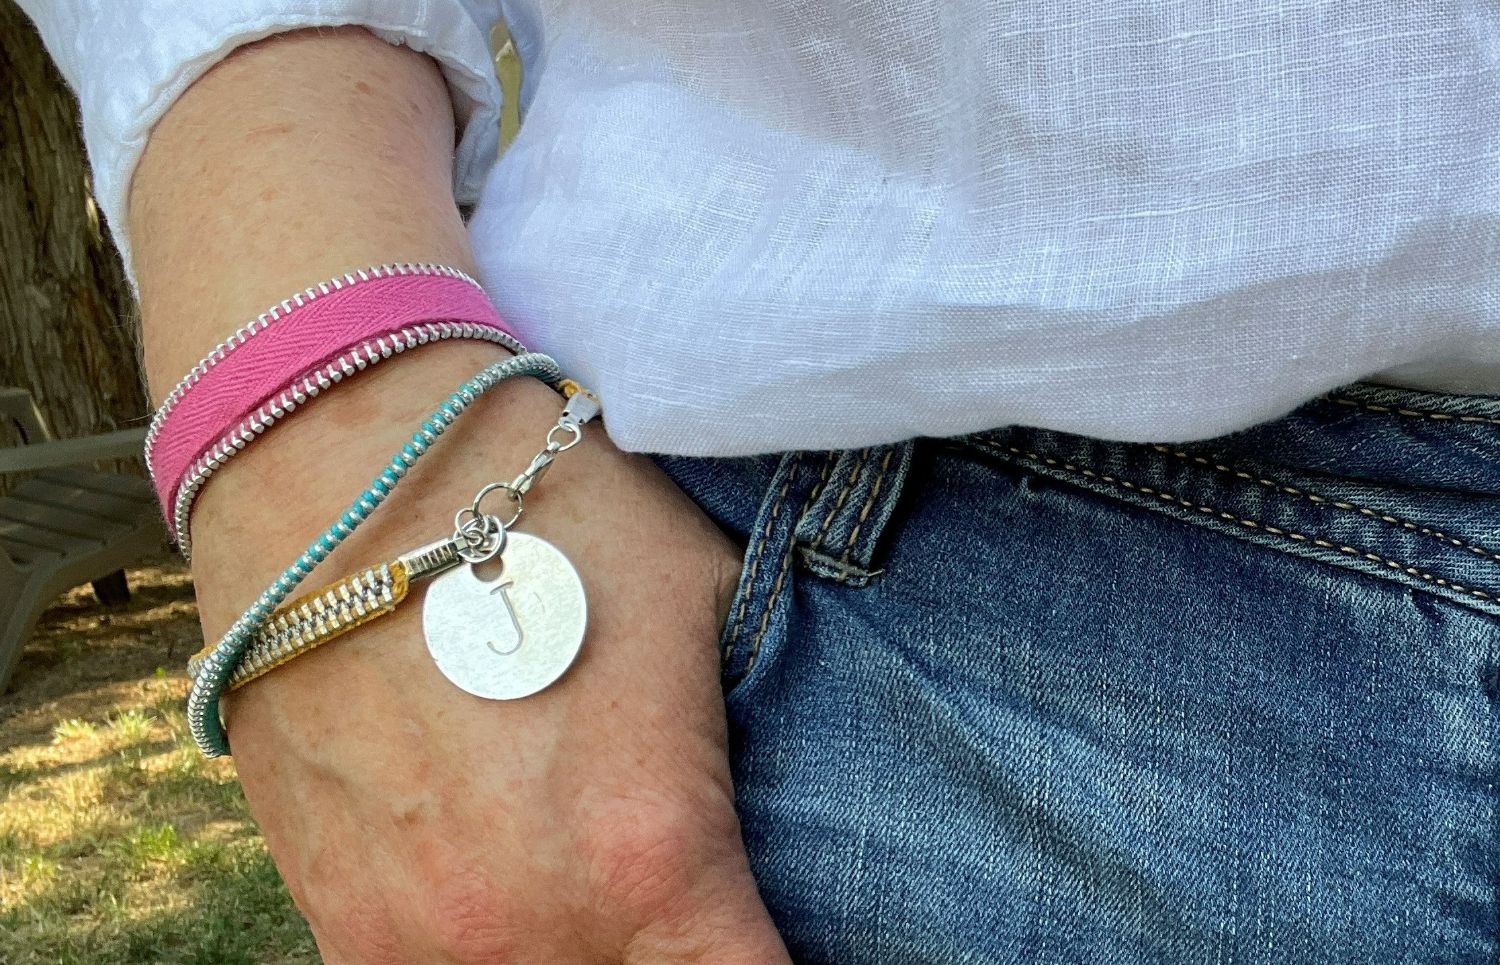
- All About The Charms: You can create a personalised story using only charms. Make a canvas with jump rings. Now using pliers, secure your charms.
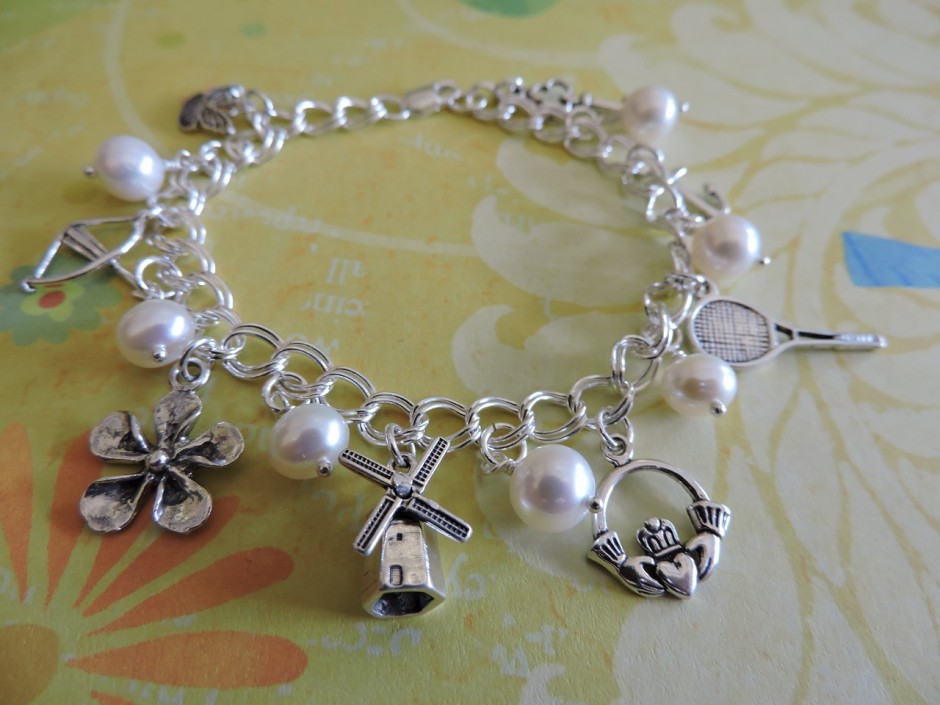
- Upcycled Glam: We have all saved a few pearls and gems that have fallen off our clothes. In fact, you may also use zippers or scraps of clothes. Repurpose and upcycle by incorporating them into your bracelets.
- Name Game: Instead of using regular beads, use letter beads. These make good friendship day bracelets. After All BFF forever <3.
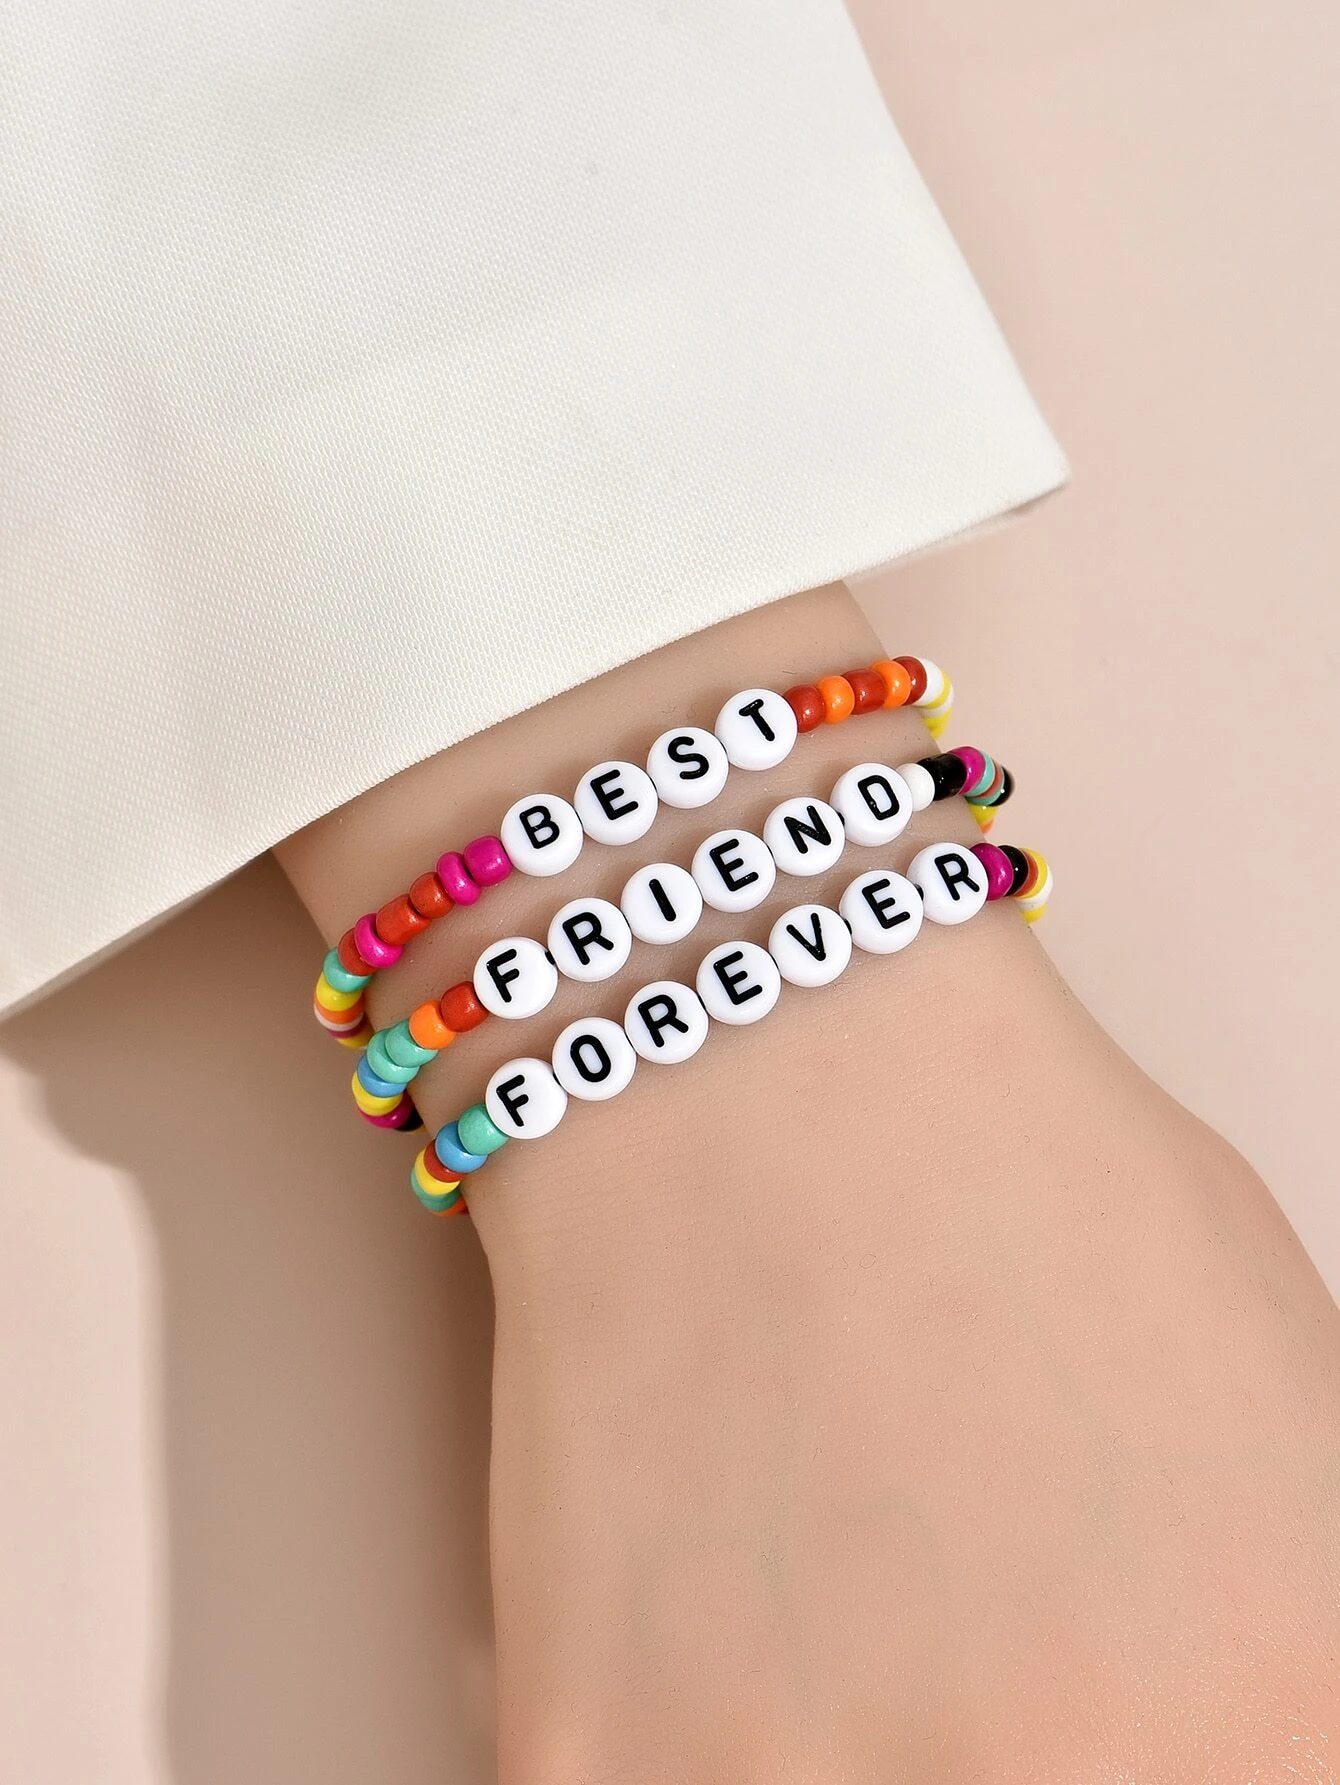
Image Courtesy – The Pretty Life Girls